

I must say I am so completely happy with how it turned out! We redid our living room about a year ago but our walls for the most part were still bare. I love how this canvas wall adds some color to our walls and but more importantly shows what this room is about... our family. It's where we play games, watch movies, build blanket tents, and just be together as a family.
So getting to what you all want to know. How did you do it? Well for starters my inspiration comes from Pinterest (of course). Pinterest showed so many different ways on how to make your own canvases but fell in love with this one over at Girl. Inspired. She also has a tutorial if you want to check out hers. But here is mine:
These are a quick, fun, and easy way to decorate your house. I now want to make more for presents. The best part though...the cost! Here is my total:
1 hr Photos Printed ( One-11x14" Six-8x10" Four 5x7") =$32.00
Canvases= $30.00 (Michaels at 40% off and had a 20% off entire purchase coupon)
Mod Podge = $4.50
Brushes = FREE (already had)
Scrapbook Paper = $3.00 (Michaels)
Brown Paint = FREE (already had)
Grand Total= $69.50
Which is around the cost of One 11x14" professional canvas and I made 11!!!
Supplies Needed:
Printer Paper
Tape
Mod Podge (Matte)
Blank Canvases (try to get ones with flat sides without folds, makes life easier when modge podging)
Scrapbook Paper
Paint in your choice of color
Foam brushes
Photos
Rotary Cutter or whatever you prefer for cutting straight
Straight Edge Ruler
Steps:
1. Take your printer paper and cut to the size of the canvases you will be creating. Tape them on the wall to get the idea of the layout you want. This was my layout...

2. Get all your supplies and and start to cut strips of your scrapbook paper into the width and length of the sides of your canvas (Note: Cutting the paper just a bit thinner than the width and shorter than the length I found worked better)
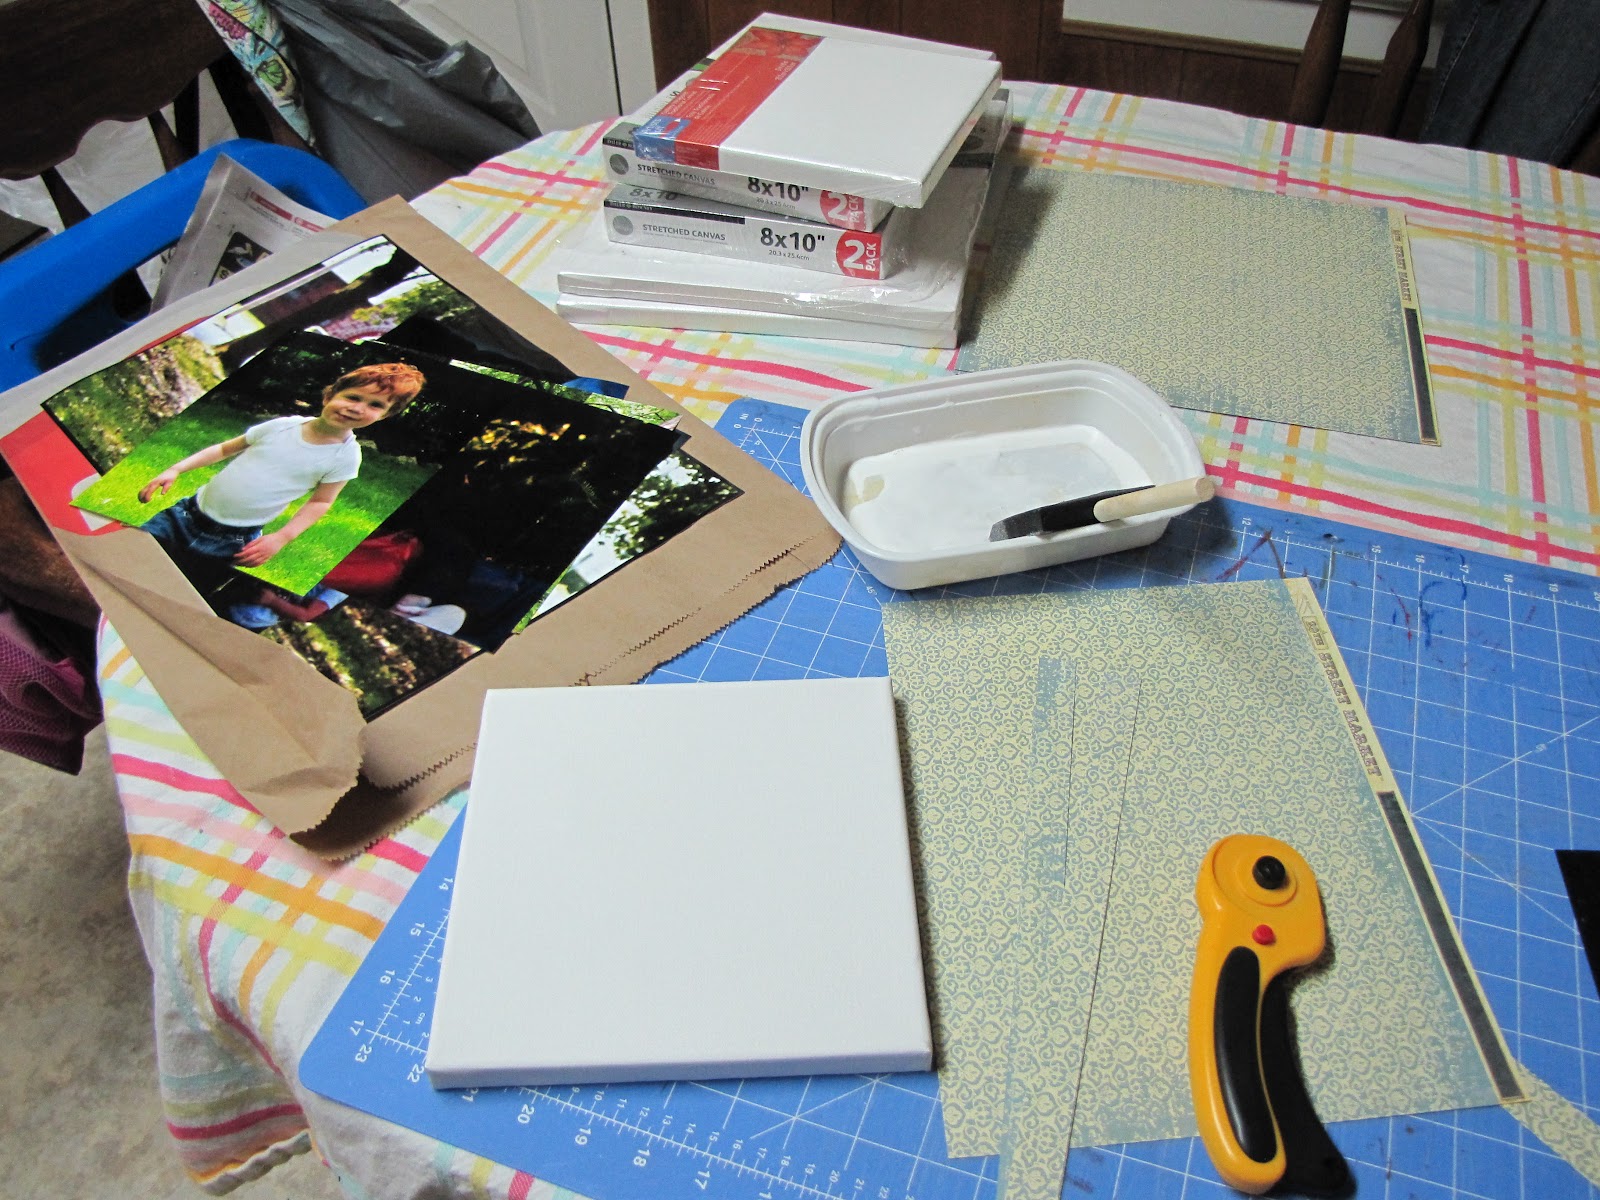
3. Once you have your strips cut for your first canvas, brush the Mod Podge along the sides and glue on your strips. Once your strips are glued on apply Mod Podge to the front of your canvas and glue your photo on.
4. Allow to dry completely (approx 30 mins). Once canvas is dry, apply a coat of Mod Podge over the entire picture and sides. (Do not worry Mod Podge dries clear)
5. Once your canvas has completely dried take your paint color of choice and "antique" sides and corners with your foam brush. This step helps to hide the seam between the photo and the scrapbook paper while adding character to the photo.
Made a little mistake with the paint? No problem! Since the Mod Podge has dried completely, if you make a little mistake a damp cloth easily takes the paint right off


And remember that DIY projects are not to reach for perfection, but instead to try something new and have a little fun!
Happy Monday!
<3 Kris


